

Follow the construction below
Page 1
Page 2
Page 3
Page 4
Page 5
Page 6
Page 7
Page 8
Page 9
History
Return to First Page
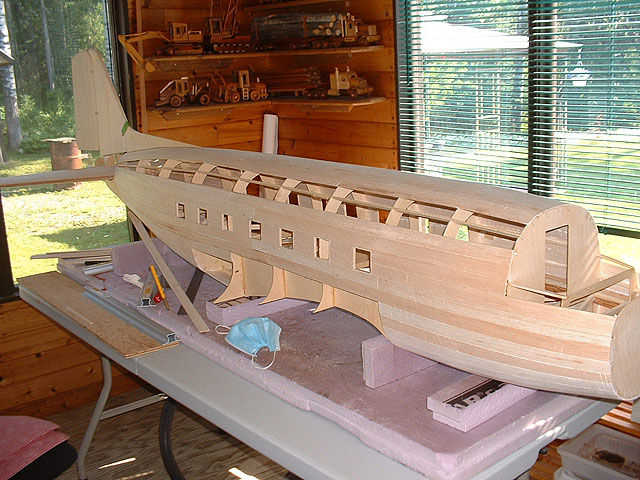
Okay, after a couple years in a dusty corner of the hanger, the DC3 is back on the workbench. July 1, 2016.
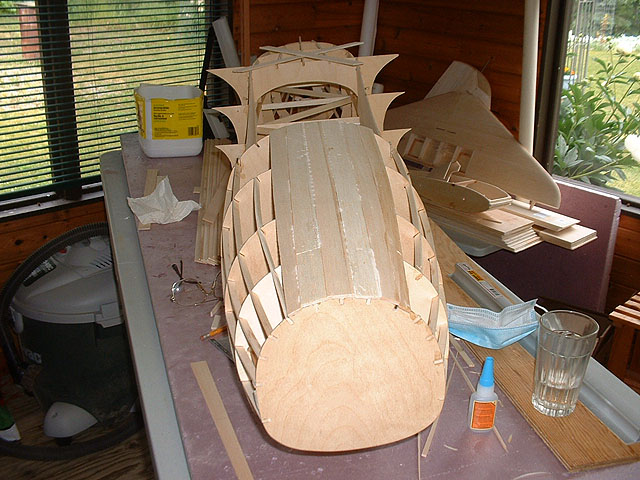
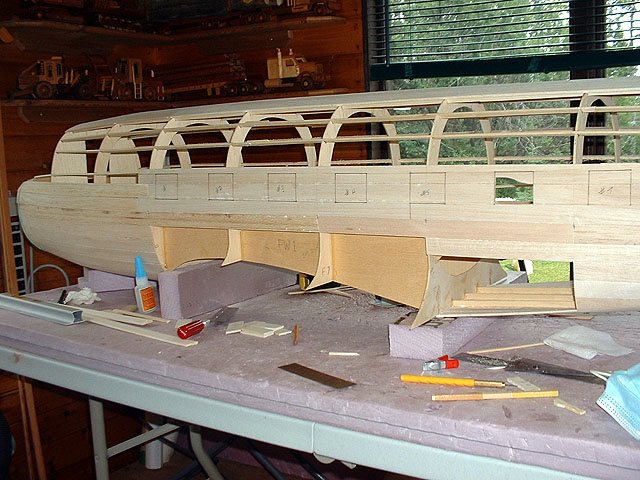
1/8 in sheeting going on the underside of the fwd fuse.
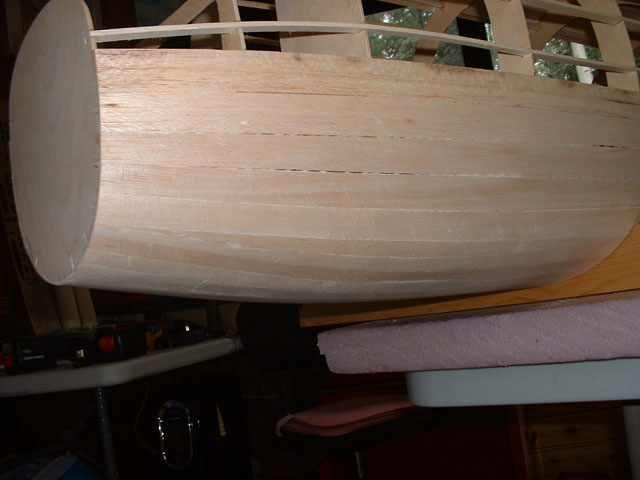
Underside in front of wings done.
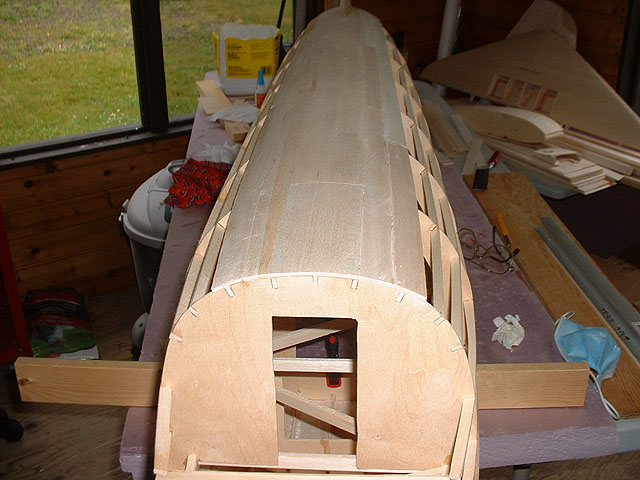
Wide strip down the top in place to keep fuse rigid.
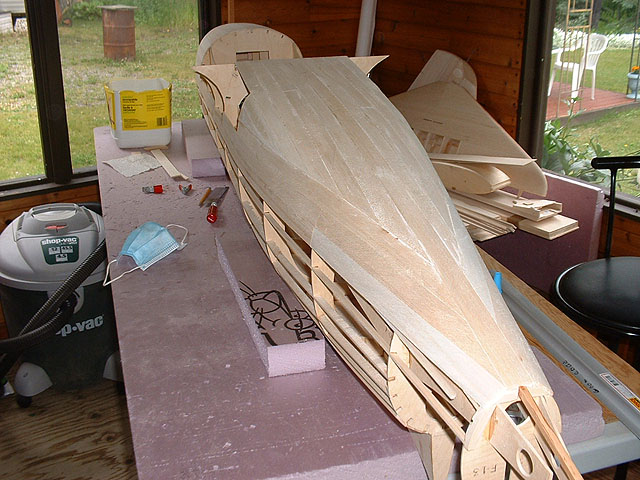
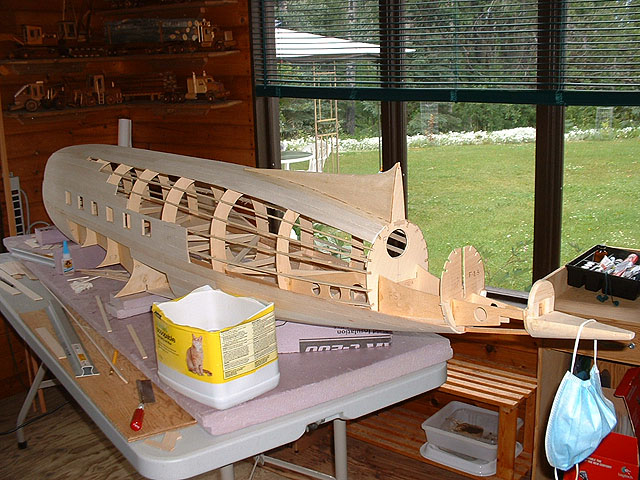
Bottom half of the fuse rear of the wings covered in 1/8 inch sheeting.
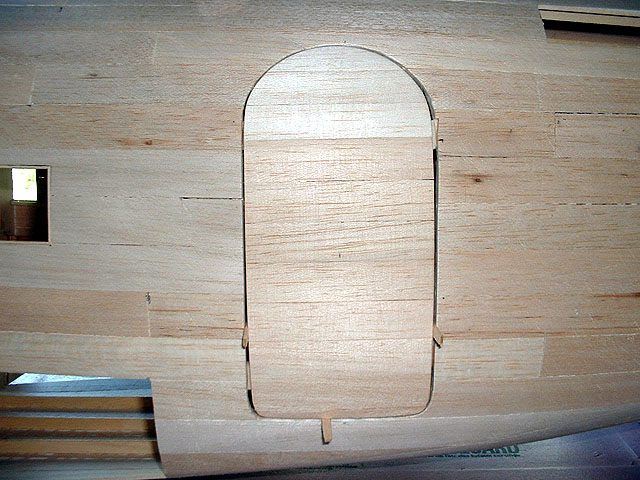
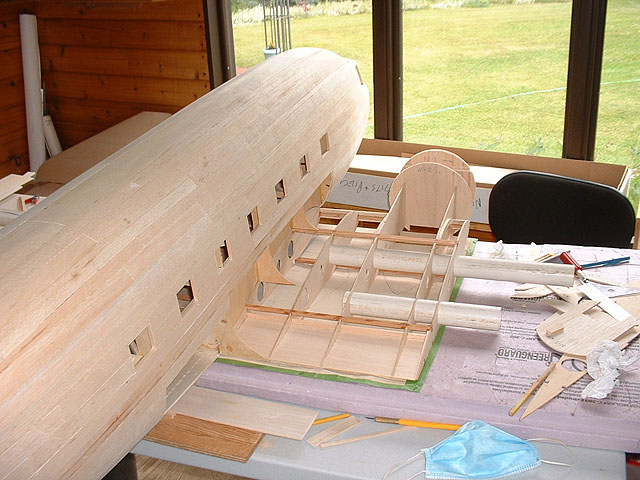
Creating the windows. Not sure whether to have 6 or 7???.
Port side windows cut out & cased in hardwood.
Ready to punch a hole for the door.
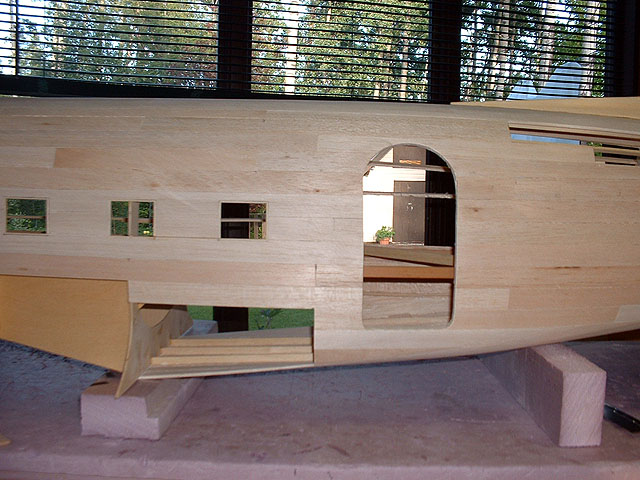
Now I've got a huge gappimg hole in the fuse.
Couple more planks to go and the starboard side is finished. Windows are framed and done.
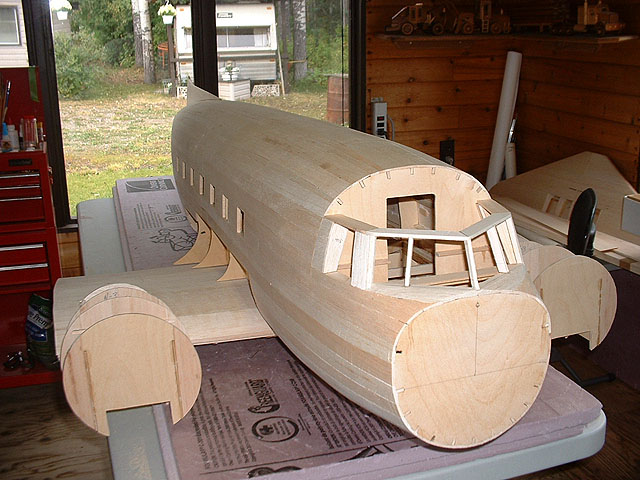
Ready for cockpit that will be formed from foam.
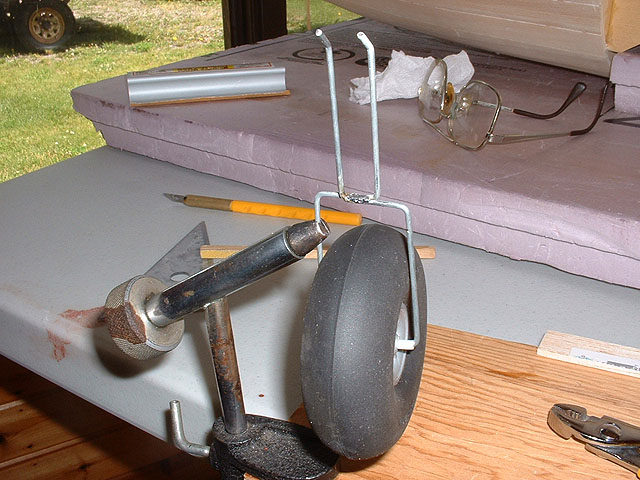
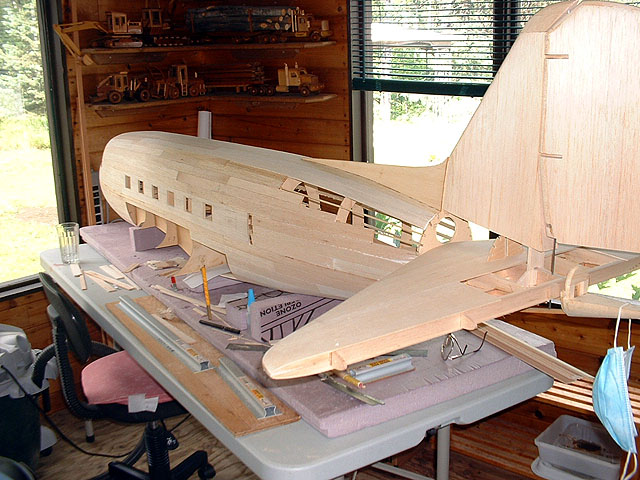
Working on a landing gear for the tail wheel.
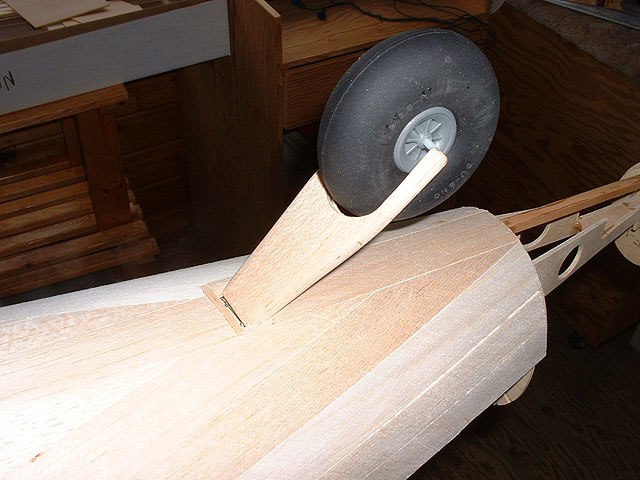
Rear landing gear attached.
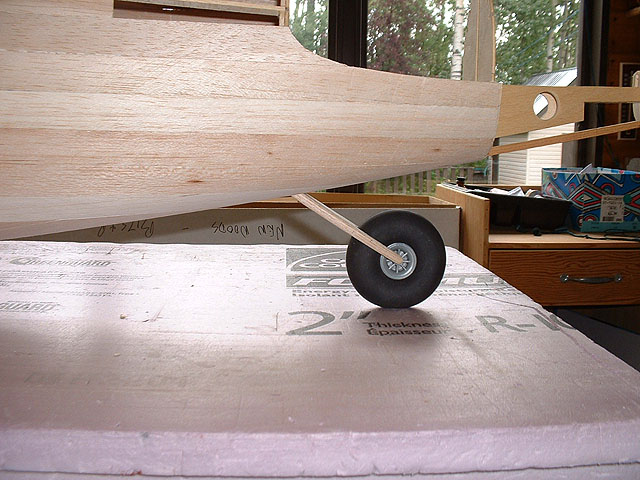
Sitting on her tail wheel.
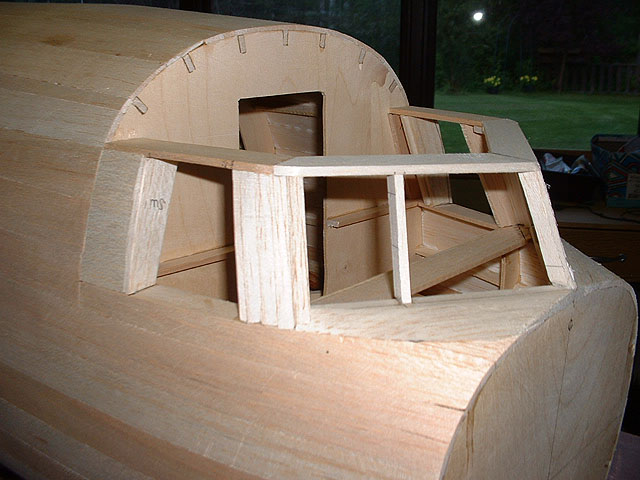
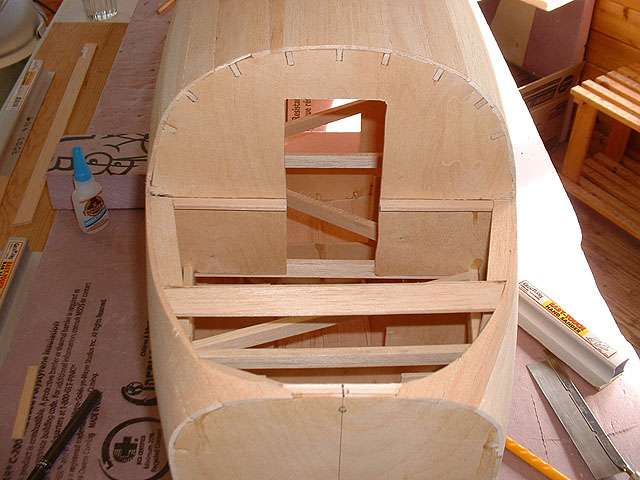
Fabricating the window section of the cockpit.
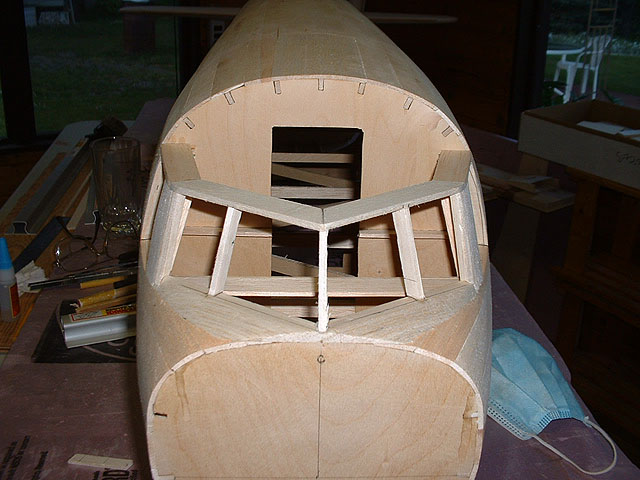
Fabricating the window section of the cockpit.
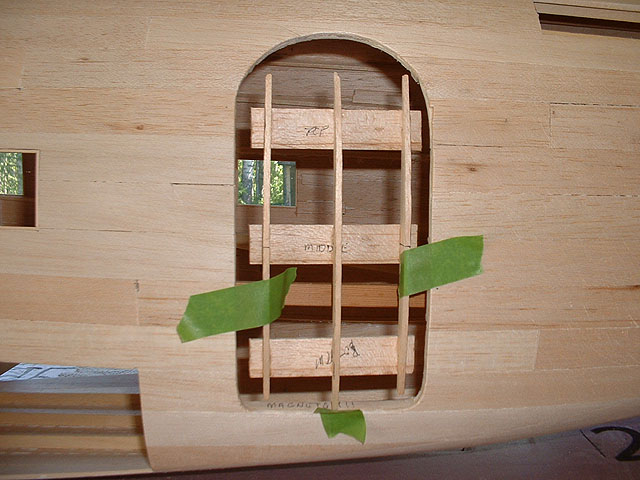
Working on a frame for the cargo door.
Cargo door covered. Now, hinges or magnets ???.
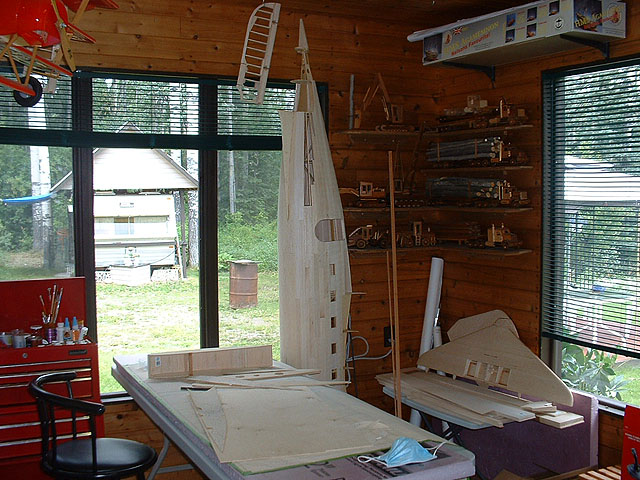
Had to get it off my bench so I can start on the center wing section. Good thing it wasn't any taller."
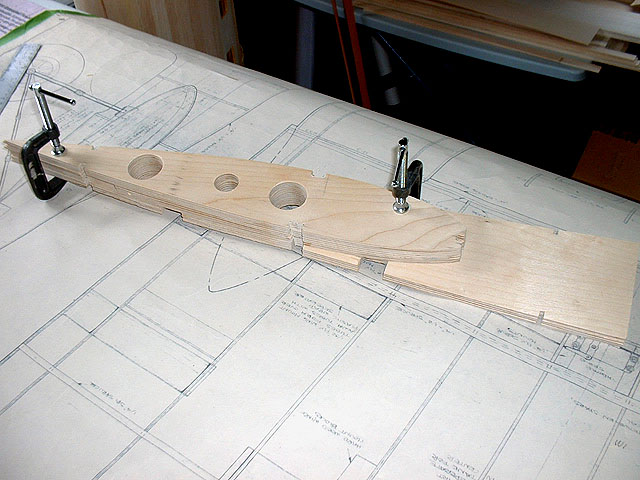
All ribs for the center wing section cut & drilled.
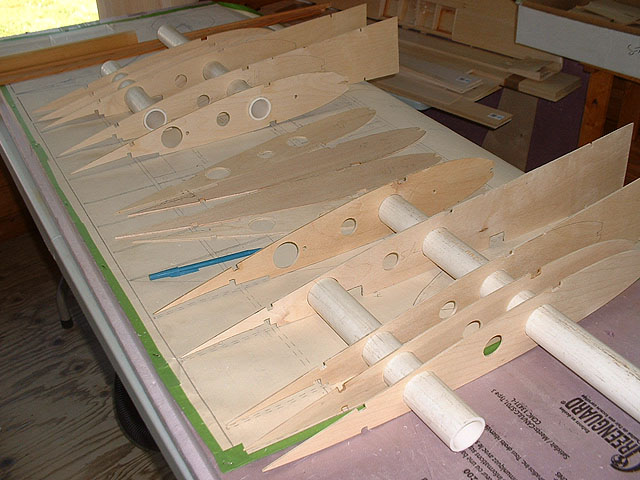
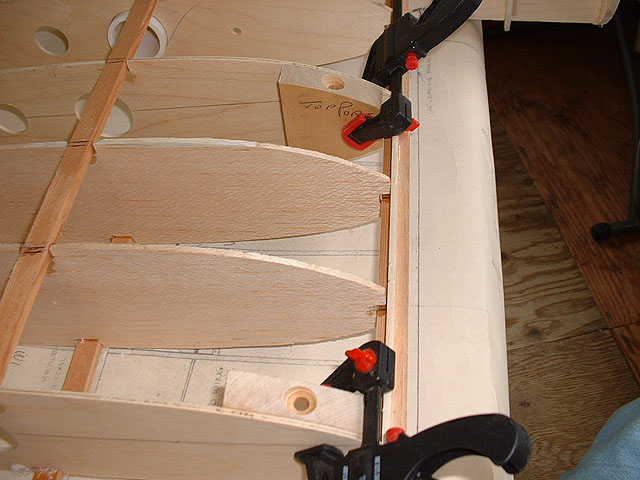
Starting assembly of center wing dection.
Fitting to the center wing section.
View from rear at this point.
Front hardwood wing mounting blocks.
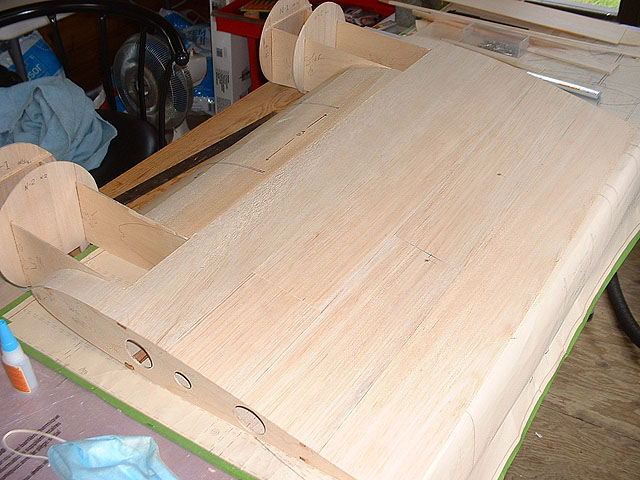
Top of the center section covered.
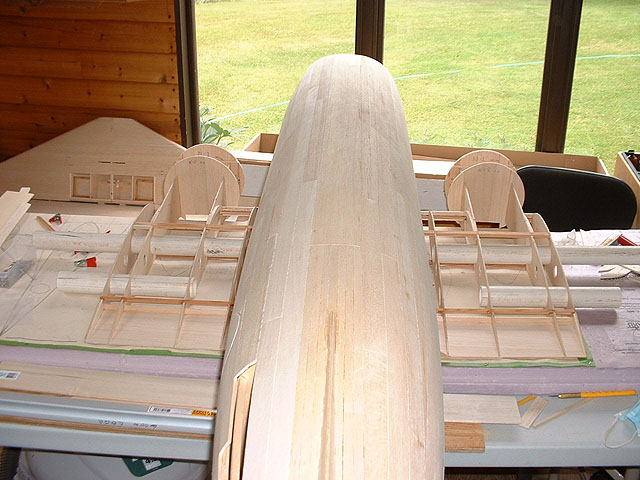
 Fuse sitting on the center wing section.
Page 1
Page 2
Page 3
Page 4
Page 5
Page 6
Page 7
Page 8
Page 9
History
Return to First Page
Webpage design & Maintenance by Alan A Sandercott Terrace B.C. Canada
Contact me at: alan@sandercott.ca